
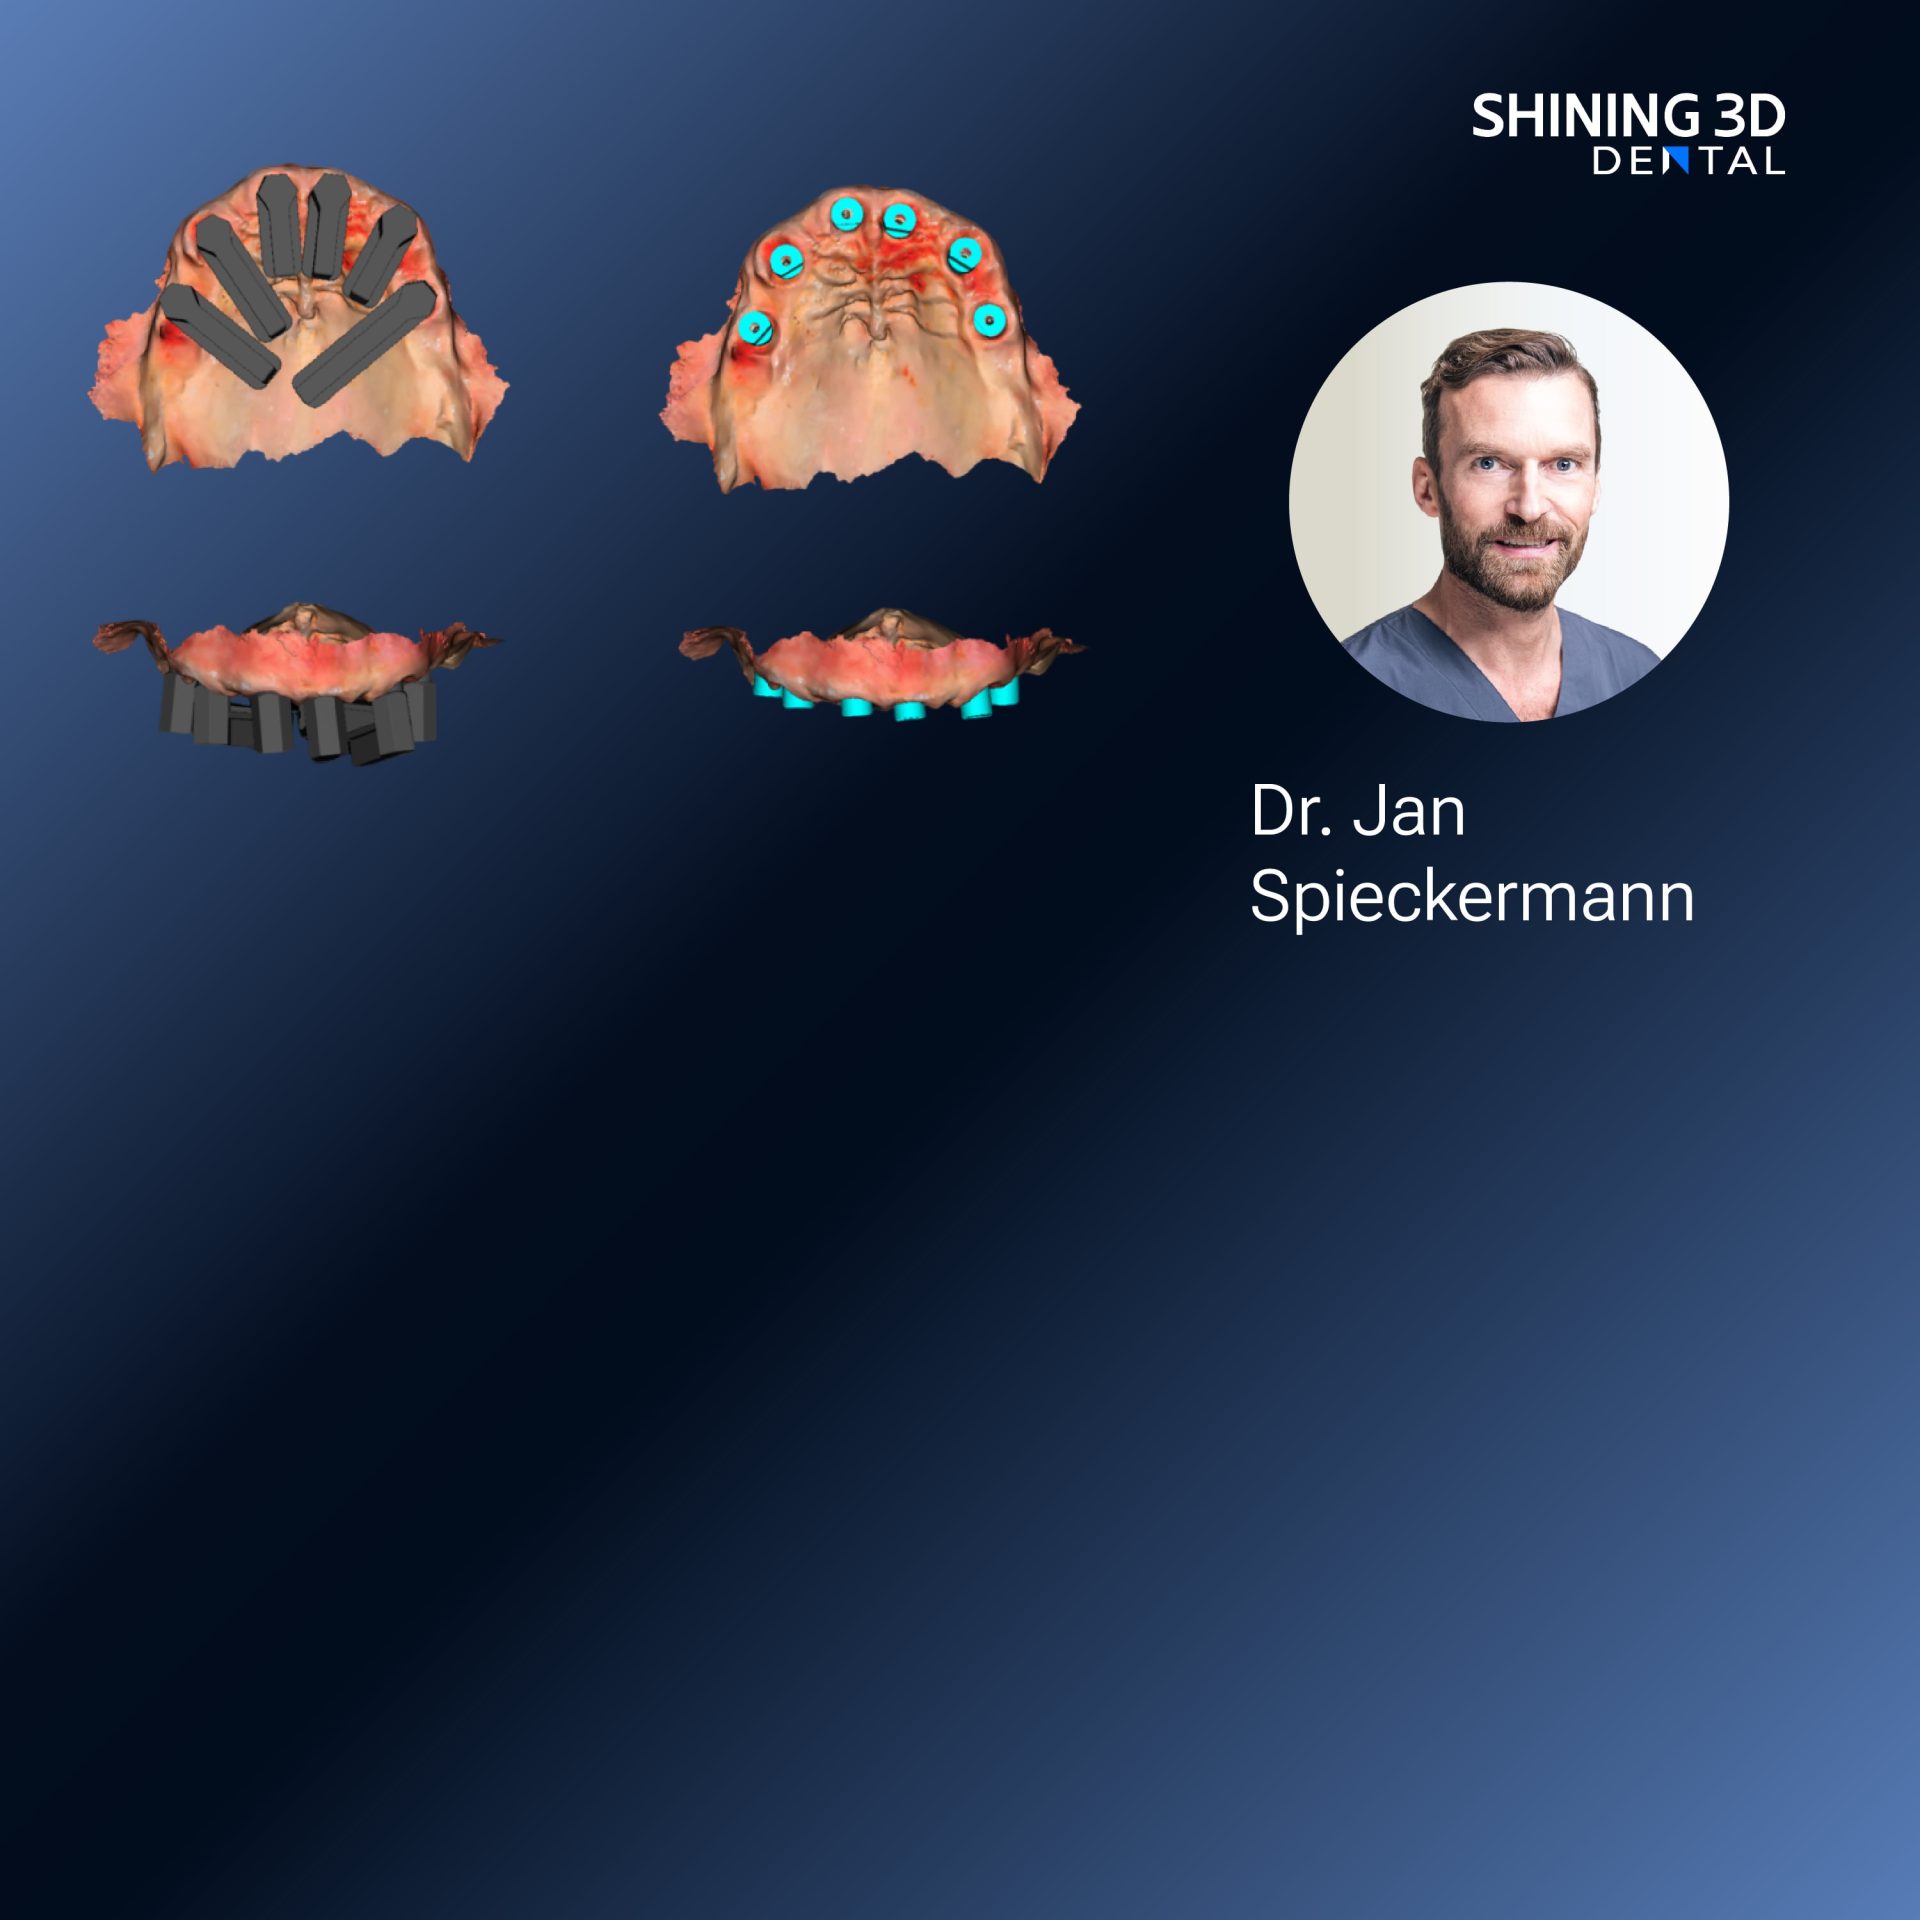
Patient-first perspective
Think of a consultation where the patient’s jaw tells a story—subtle shifts, habitual paths, and moments of tension. Start there, with the person in front of you. Capture the face, posture, and movement together; a 3d face scanner can record facial context that helps link jaw motion to expression and occlusion. This approach keeps decisions grounded in what matters to the patient: comfort, function, and predictable outcomes.

Why jaw motion matters for clinicians and patients
Jaw motion data clarifies functional behavior that static models miss. For a dentist planning restorations or an orthodontist aligning occlusion, motion traces show where contacts occur, when muscles engage, and how prosthetics will interact during real use. Clinicians with hands-on experience say it reduces guesswork and aligns treatment with real function, not just idealized anatomy.
Stepwise integration for everyday practice
Start small. 1) Capture: record jaw motion during simple tasks—opening, chewing, lateral excursions. 2) Register: align motion data to intraoral scans and facial scans so they share a common coordinate system. 3) Analyze: look for repeatable patterns and outliers. 4) Design: use motion-informed margins and occlusal schemes. 5) Verify: simulate and check on the patient. Each step needs clear handoffs so the team knows who captures, who aligns, and who signs off.
Common pitfalls and how to avoid them
Don’t overcomplicate the first cases. Avoid capturing noisy recordings by stabilizing the head and giving patients simple tasks. Don’t assume one recording fits all—collect multiple repeats. Never skip registration checks; mismatches between scans and motion traces produce inaccurate guidance. And don’t let software defaults override clinical judgment—use them as a tool, not a replacement.
Tools, trade-offs, and alternatives
Options range from optical trackers and jaw-mounted markers to electromagnetic sensors and camera-based systems. Optical, markerless solutions are less intrusive and tie well to facial contexts; they may trade off extreme precision for comfort. Marker-based setups can give higher repeatability but change natural movement. Choose based on case goals: comfort and workflow simplicity for routine restorations, more controlled setups when you need millimeter-level certainty.
Real-world grounding and demonstrated experience
Hands-on demos at major dental events and university clinics help bridge theory and practice—clinicians learn what captures consistent motion and what adds noise. One practical reference is the use of the metismile system in clinical workshops where teams test face-linked motion capture alongside intraoral scans. Those sessions show how aligning facial context with jaw traces improves communication between the restorative dentist, lab technician, and patient.
Practical checklist before your first motion-informed case
Confirm head stabilization, verify alignment between scans, run repeat captures, review traces with the patient watching, and set clear design tolerances with the lab. Keep records of what worked and what didn’t; iterative learning shortens the path to confident use.
Calm conclusion
When you center the workflow on the patient’s real movement, decisions feel quieter and more certain. The technology supports clear conversations, fewer surprises, and restorations that respect function as much as form, a coherence echoed by teams using solutions from SHINING 3D DENTAL.